
DRINKS
Hot Cocoa
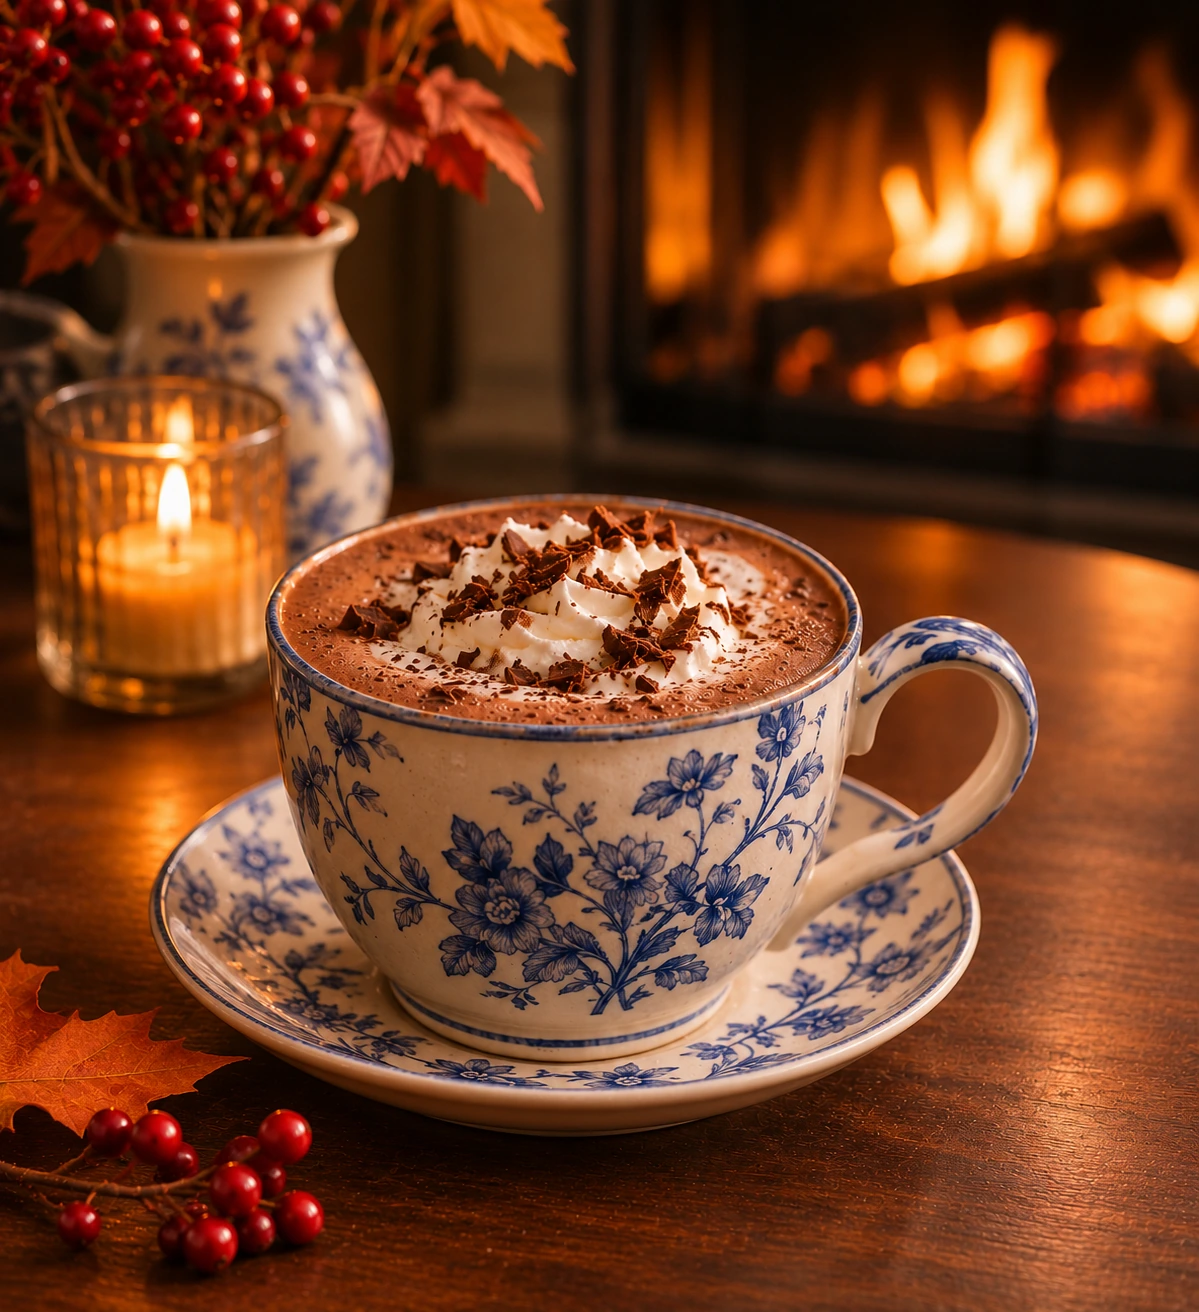
This hot cocoa is made with both cocoa powder and chopped dark chocolate, giving each mug a rounded chocolate flavor and a smooth, full texture. Two cups of whole milk make two servings. A measured spoonful of sugar softens the cocoa's natural bitterness, while the chocolate melts into the milk and adds richness. The listed base uses one tablespoon of sugar; a second tablespoon is there if you prefer a sweeter drink. Whisking the cocoa into a little milk before heating helps it blend evenly instead of floating in dry clumps. Warm the pot slowly, melt in the chocolate off the heat, and serve as soon as the surface turns glossy. Whipped cream and chocolate shavings are optional finishes, and neither is included in the nutrition estimate.
Gather what you need
Ingredients
NUTRITION
Nutrition per serving
- Calories
- 279 kcal
- Protein
- 10.0 g
- Fat
- 15.0 g
- Carbs
- 28.0 g
Estimated values per serving.
Ingredient Visual Board
View Ingredients Image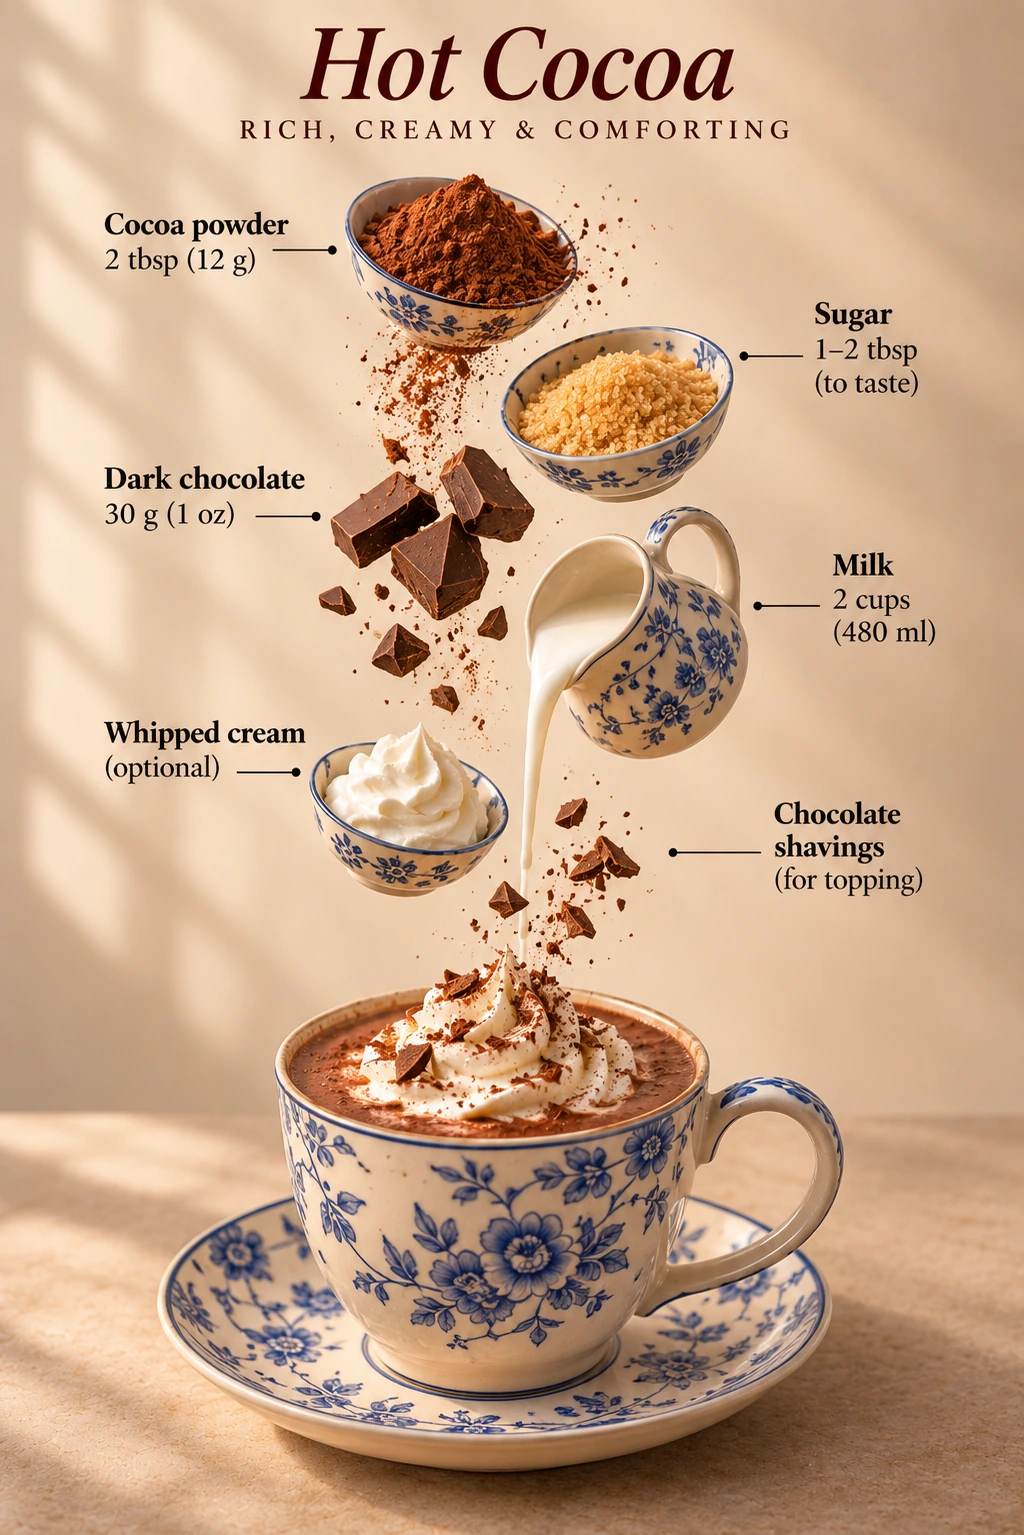
The visual board and instructions describe the original recipe for 2 servings. Use the adjusted checklist amounts when changing servings.
From the kitchen
Instructions
Finely chop the 30 g dark chocolate so the pieces melt quickly and evenly. Measure the cocoa powder and sugar before starting, and set out two mugs. Keep the chocolate separate for now; it will be whisked in after the milk is hot, which helps it melt without scorching on the bottom of the pan.
In a small saucepan off the heat, combine the cocoa powder, the base tablespoon of sugar, and about 2 tablespoons of the measured milk. Whisk until the dry ingredients form a smooth, dark paste. Press any stubborn cocoa lumps against the side of the pan with the whisk. This short mixing step matters: adding all the milk at once can leave dry pockets that are harder to smooth out later.
Pour in the remaining milk gradually, whisking as you go until the paste loosens and blends into the liquid. Set the saucepan over medium-low heat. Stir around the base and corners of the pan frequently as the milk warms. After about 4–5 minutes it should be steaming, with a little movement at the edges, but not bubbling into a simmer. Lower the heat if bubbles grow or the milk begins to foam up the sides.
Take the saucepan off the burner and add the chopped chocolate. Let it sit for about 1 minute, then whisk steadily until every piece has melted and the cocoa looks even and glossy. If a few pieces remain, return the pan to the lowest heat briefly and keep whisking; do not boil the drink. Scrape the base once or twice so no chocolate is left to stick, then lift the whisk and check that the liquid falls back in a smooth ribbon without visible flecks.
Taste a small spoonful after it has cooled slightly. The base is deliberately measured with 1 tablespoon of sugar. If you want a sweeter cup, whisk in some of the optional extra sugar a little at a time until it suits you. The extra amount is not part of the nutrition estimate. If the cocoa has cooled while you adjust it, warm it gently over low heat and stir until hot and smooth again.
Divide the cocoa between two mugs and serve while warm. Add whipped cream or chocolate shavings only if you want them, just before serving. Keep the toppings separate until the mugs are poured so each person can choose; neither topping is required for a rich-tasting drink, and both are excluded from the nutrition values.
GOOD TO KNOW
Kitchen Notes
- Use unsweetened cocoa powder rather than a sweetened drinking mix, which already contains sugar and would change the flavor and nutrition. Both natural and Dutch-process unsweetened cocoa work here because the drink does not depend on a leavening reaction. The listed chocolate assumption is dark chocolate with 70–85% cacao. Within that range, a higher cacao percentage will taste more intense and usually less sweet, so adjust only the optional sugar after tasting.
- Make the cocoa paste before adding the rest of the milk. If a few lumps remain, whisk them out while the pan is still off the heat; a fine-mesh strainer can remove any that persist before serving. Keep the burner moderate and stir often, since milk can scorch on the base of a pan when left undisturbed. The goal is steaming milk, not a rolling boil.
- The nutrition estimate counts 12 g cocoa powder, 30 g dark chocolate, 480 ml whole milk, and the base 12.5 g sugar across two servings. It does not count an optional extra spoonful of sugar, whipped cream, chocolate shavings, marshmallows, or any other topping. Those additions have no specified quantity.
Storage & reheating
Storage: Transfer leftover cocoa to a shallow covered container and refrigerate within 2 hours. Use within 3–4 days. Store it without whipped cream or chocolate shavings; add those only to individual mugs when serving. The chocolate may firm slightly as the drink chills, which is normal. Stir before reheating because cocoa can settle and a thin chocolate layer may set on the surface.
Reheating: Reheat only the amount you plan to drink. Warm it in a small saucepan over low heat, whisking until smooth and steaming; avoid boiling. For the microwave, use short 20–30 second bursts in a microwave-safe mug, stirring between each burst and checking that it is evenly hot. If chilled cocoa feels thicker than you like, whisk in a small splash of milk while warming. Add fresh optional toppings after reheating.
FROM SUE · PRINTABLE RECIPE
Hot Cocoa
This hot cocoa is made with both cocoa powder and chopped dark chocolate, giving each mug a rounded chocolate flavor and a smooth, full texture. Two cups of whole milk make two servings. A measured spoonful of sugar softens the cocoa's natural bitterness, while the chocolate melts into the milk and adds richness. The listed base uses one tablespoon of sugar; a second tablespoon is there if you prefer a sweeter drink. Whisking the cocoa into a little milk before heating helps it blend evenly instead of floating in dry clumps. Warm the pot slowly, melt in the chocolate off the heat, and serve as soon as the surface turns glossy. Whipped cream and chocolate shavings are optional finishes, and neither is included in the nutrition estimate.
Prep: 3 minutes · Cook: 7 minutes · Total: 10 minutes · Serves: 2
Ingredients
- 12 g Cocoa powder
- 30 g Dark chocolate, 70–85% cacao
- 480 ml Whole milk
- 12.5 g, The optional extra is excluded from the nutrition estimate. Granulated sugar
- to serve, optional Whipped cream (optional)
- to serve, optional Chocolate shavings (optional)
Instructions
- Finely chop the 30 g dark chocolate so the pieces melt quickly and evenly. Measure the cocoa powder and sugar before starting, and set out two mugs. Keep the chocolate separate for now; it will be whisked in after the milk is hot, which helps it melt without scorching on the bottom of the pan.
- In a small saucepan off the heat, combine the cocoa powder, the base tablespoon of sugar, and about 2 tablespoons of the measured milk. Whisk until the dry ingredients form a smooth, dark paste. Press any stubborn cocoa lumps against the side of the pan with the whisk. This short mixing step matters: adding all the milk at once can leave dry pockets that are harder to smooth out later.
- Pour in the remaining milk gradually, whisking as you go until the paste loosens and blends into the liquid. Set the saucepan over medium-low heat. Stir around the base and corners of the pan frequently as the milk warms. After about 4–5 minutes it should be steaming, with a little movement at the edges, but not bubbling into a simmer. Lower the heat if bubbles grow or the milk begins to foam up the sides.
- Take the saucepan off the burner and add the chopped chocolate. Let it sit for about 1 minute, then whisk steadily until every piece has melted and the cocoa looks even and glossy. If a few pieces remain, return the pan to the lowest heat briefly and keep whisking; do not boil the drink. Scrape the base once or twice so no chocolate is left to stick, then lift the whisk and check that the liquid falls back in a smooth ribbon without visible flecks.
- Taste a small spoonful after it has cooled slightly. The base is deliberately measured with 1 tablespoon of sugar. If you want a sweeter cup, whisk in some of the optional extra sugar a little at a time until it suits you. The extra amount is not part of the nutrition estimate. If the cocoa has cooled while you adjust it, warm it gently over low heat and stir until hot and smooth again.
- Divide the cocoa between two mugs and serve while warm. Add whipped cream or chocolate shavings only if you want them, just before serving. Keep the toppings separate until the mugs are poured so each person can choose; neither topping is required for a rich-tasting drink, and both are excluded from the nutrition values.
Kitchen notes
- Use unsweetened cocoa powder rather than a sweetened drinking mix, which already contains sugar and would change the flavor and nutrition. Both natural and Dutch-process unsweetened cocoa work here because the drink does not depend on a leavening reaction. The listed chocolate assumption is dark chocolate with 70–85% cacao. Within that range, a higher cacao percentage will taste more intense and usually less sweet, so adjust only the optional sugar after tasting.
- Make the cocoa paste before adding the rest of the milk. If a few lumps remain, whisk them out while the pan is still off the heat; a fine-mesh strainer can remove any that persist before serving. Keep the burner moderate and stir often, since milk can scorch on the base of a pan when left undisturbed. The goal is steaming milk, not a rolling boil.
- The nutrition estimate counts 12 g cocoa powder, 30 g dark chocolate, 480 ml whole milk, and the base 12.5 g sugar across two servings. It does not count an optional extra spoonful of sugar, whipped cream, chocolate shavings, marshmallows, or any other topping. Those additions have no specified quantity.