
A lighter pancake starts before it reaches the pan
A fluffy pancake needs batter that can hold small pockets of gas while the heat sets its structure. Baking powder supplies lift, flour and eggs help the pancake hold together, and the liquid allows the ingredients to combine. Getting those parts into balance matters more than adding an extra spoonful of raising agent. Once the batter is mixed, a gentle hand and steady heat give those bubbles a chance to stay in place.
This guide is for ordinary flour-and-egg pancakes made with baking powder, such as the Maple Pecan Pancakes linked below. Thin crêpes, yeast-raised pancakes and tall soufflé pancakes need different methods. Start with a complete recipe and keep its ingredient amounts for the first batch. Then use the texture and cooking cues here to understand what is happening, rather than changing several ingredients at once.
Measure the flour before adjusting the batter
Too much flour can make a pancake heavy even when you mix carefully. Weigh it if your recipe gives grams. When using a measuring cup, loosen the flour, spoon it into the cup and level the top without packing it down. Scooping directly from a tightly packed bag can bring considerably more flour into the bowl. Avoid adding an extra handful simply because the fresh batter looks a little uneven.
Use the flour named in the recipe. All-purpose flour is a useful starting point for a tender everyday pancake; bread flour, whole-wheat flour and gluten-free blends behave differently. A substitution can change how much liquid the batter absorbs and how well it holds together. If you are trying a different flour, choose a formula designed for it instead of expecting the same result from an equal scoop.
Check your baking powder, and keep the recipe balanced
Baking powder loses effectiveness as it ages, especially if moisture reaches the container. Check its date, keep it dry and close the lid after measuring. If its performance is uncertain, a small spoonful stirred into hot water should produce an immediate, noticeable fizz. That is a useful activity check, though it cannot tell you exactly how much rising power remains. Replacing a doubtful container is more reliable than doubling the amount.
Baking powder and baking soda are not interchangeable spoon for spoon. Baking soda needs an appropriate acidic ingredient, while baking powder already contains an acid component. Buttermilk changes both the acidity and thickness of a batter, so swapping it for ordinary milk can affect the result. Follow the recipe's combination of milk and leavening first. Extra powder can leave an unpleasant taste and will not repair batter that is too wet or overworked.
Mix the wet ingredients first, then leave the small lumps
Whisk the dry ingredients together in one bowl so the raising agent is distributed through the flour. In another, combine the eggs, milk and other wet ingredients until evenly mixed. Let melted butter cool slightly before adding it; very hot butter can begin setting the egg. Preparing the two mixtures separately means you do not have to beat the flour mixture for a long time just to break up an egg yolk.
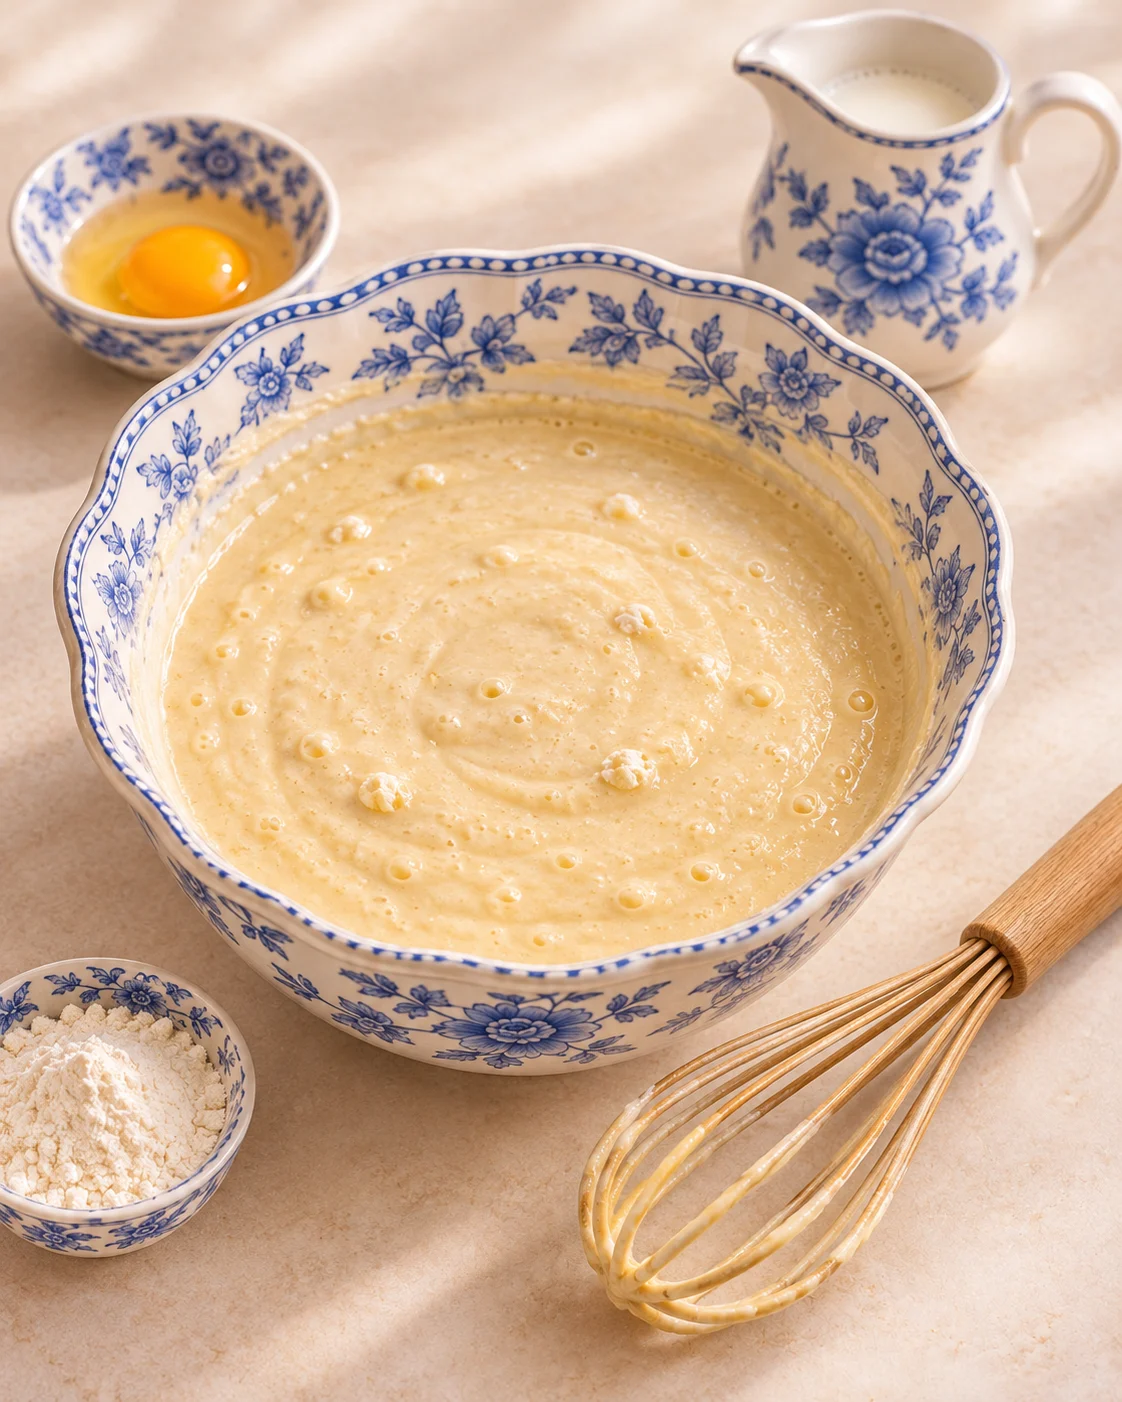
Pour wet into dry and fold or stir gently, scraping across the bottom of the bowl. Stop when you cannot see pockets of dry flour. A few small lumps are fine. Do not keep whisking until the mixture looks polished and completely smooth: vigorous mixing develops more gluten in wheat flour and can knock out bubbles. A broad spoon or spatula makes it easier to stop at the right point than an electric mixer.
The goal is a thick, spoonable batter that falls in a broad ribbon and spreads slowly after landing. It should not pour like milk, but it should not sit as a firm lump of dough either. Use the recipe's quantities as your reference. If it remains unusually stiff after its short rest, gently fold in a teaspoon of milk at a time. Make a test pancake before adding more.
Give the batter a short rest
For a typical baking-powder batter, about five to ten minutes is a useful pause while the pan warms, unless your recipe gives another instruction. The flour has time to absorb liquid and the batter may thicken slightly. This is a short rest, not a reason to leave the bowl on the counter all morning. Recipes made with whipped egg whites or a different raising method may need to be cooked promptly.
After resting, scoop the batter gently rather than beating it again. You do not need to stir away the bubbles that have formed. If it has separated slightly, use only a few folds to bring it together. For breakfast preparation ahead of time, measure the dry ingredients and wet ingredients separately and refrigerate the perishable mixture. Combine them near cooking time instead of relying on a fully mixed batter to retain its lift overnight.
Preheat steadily and cook one test pancake
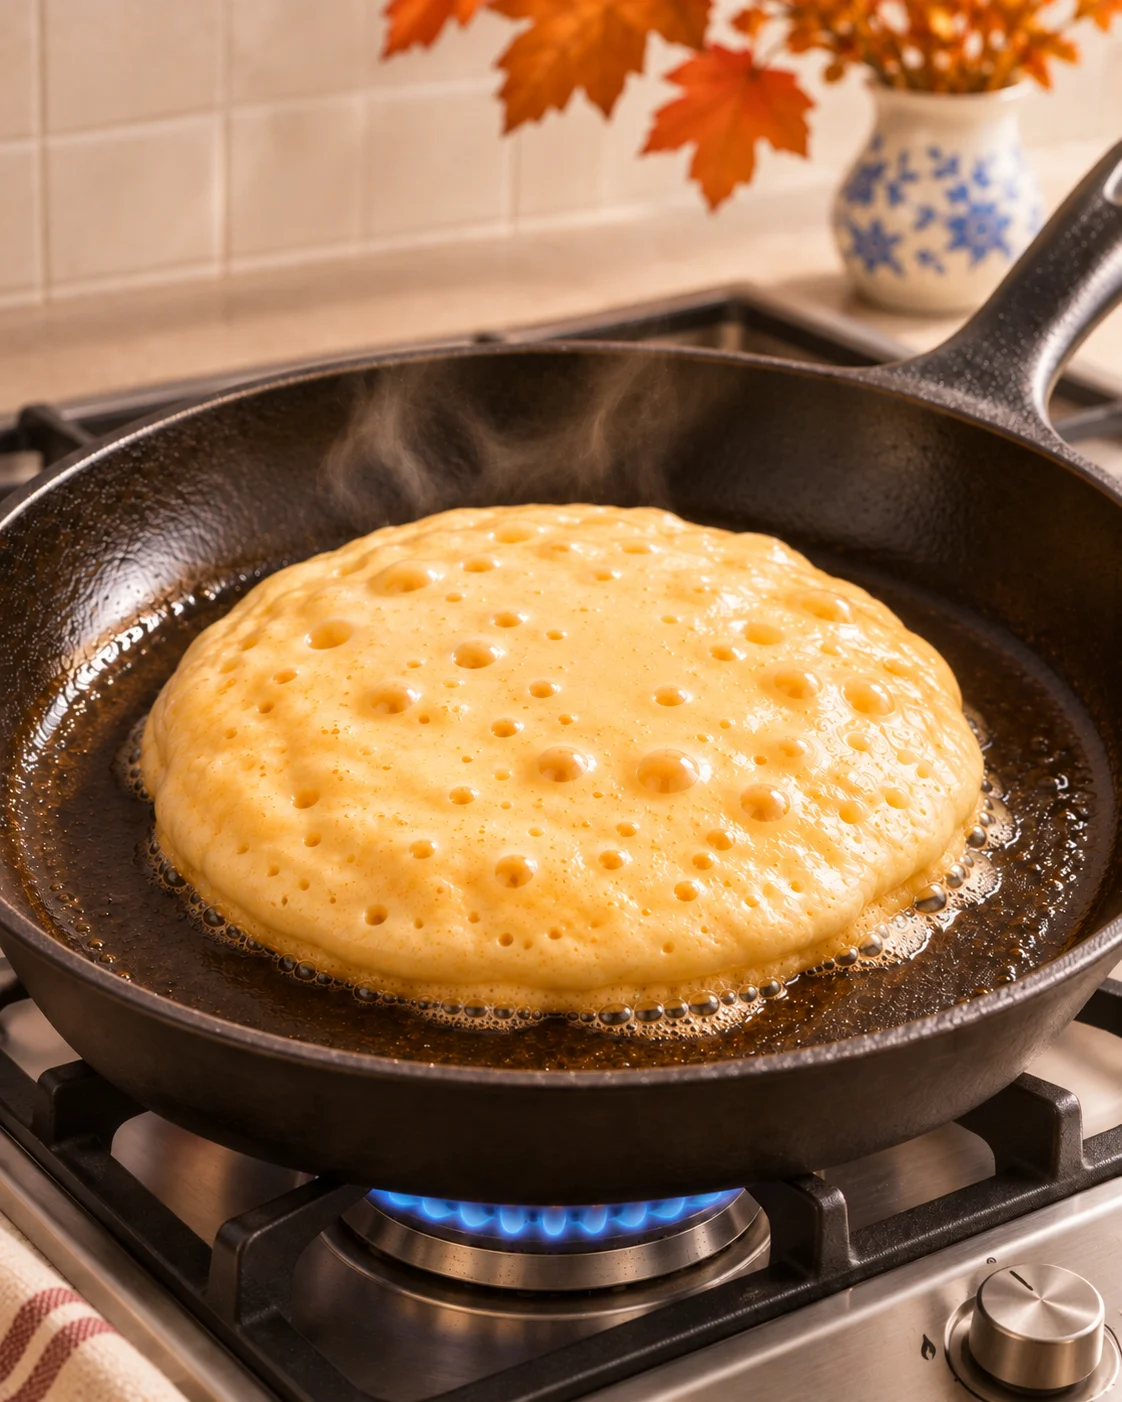
Start with medium to medium-low heat and allow the skillet to warm evenly. A heavy cast-iron pan takes time to heat and retains that heat once it is hot. The burner setting alone cannot tell you whether the cooking surface is ready. Brush on a thin film of oil or the fat specified in your recipe. You want enough to prevent sticking, without a pool that fries the edges before the center sets.
Spoon in one modest pancake first, about a quarter cup of batter if that matches your recipe. It should spread gradually and begin setting without immediately developing a dark rim. If the underside browns before bubbles appear and the edges firm up, lower the heat and let the pan cool a little. If the batter sits pale for a long time and spreads widely, give the surface more time to warm.
Treat this first pancake as feedback. Cast iron can become hotter over several batches, so reduce the burner as needed rather than keeping the same setting throughout. Wipe away scorched butter or loose crumbs before adding the next batch. Leave room between pancakes for the spatula; crowding makes a clean flip harder and can tempt you to turn them before they are ready.
Watch the bubbles and edges before you flip
Look for several signals together: bubbles rise through the surface, some open and leave holes, and the outer edge looks less glossy and more set. Gently lift an edge to check that the underside is golden. A few early bubbles in a still-fluid pancake do not mean it is ready. Timing varies with the thickness of the batter, the pancake's size and the pan, so the surface tells you more than a rigid countdown.
Slide a thin spatula underneath and turn the pancake close to the pan with one controlled movement. Let the second side cook until golden and the center is set. Do not press it flat with the spatula, and avoid repeated flipping to check the color. If you are unsure about the first pancake, cut it open: the center should be cooked through, with no shiny ribbon of wet batter. Adjust the heat or portion size before cooking the rest.
Troubleshoot the texture one change at a time
Flat and spreading: check whether the batter was too thin, whether the pan was properly preheated and whether the baking powder is still active. Dense or chewy: consider excess flour and vigorous mixing before reaching for more leavener. A bowl of batter that has already been overmixed cannot be returned to its original state by adding liquid. Finish the batch gently and use fewer strokes next time.
Dark outside, wet inside: the pan is usually too hot for the pancake's thickness. Lower the heat and make the next one a little smaller. Pale and greasy: check that the pan is warm enough and that the fat is only a light coating. Dry or crumbly: review the flour measurement and cooking time. Write down the single change that helps, so the next breakfast starts from a clearer baseline.
Serve without trapping steam
Pancakes are at their lightest soon after cooking. If you need to hold a batch, arrange them in a single layer on a rack over a baking sheet in a low oven, around 200°F (95°C), for a short time. Avoid sealing a hot stack under a tight lid, which traps moisture and softens the surface. Add syrup, butter and nuts when serving instead of soaking the waiting pancakes.
Keep toppings in proportion to the pancake you have cooked. A generous layer of syrup cannot disguise a raw center, and pressing down a tall stack can compress the crumb. Serve the first successful pancake while you finish the others, or bring the warm batch to the table together. The useful habits stay the same: accurate flour, gentle mixing, a brief rest and heat that allows the middle to cook.
Put the technique into practice
Try these cues with the Maple Pecan Pancakes recipe for measured ingredients, toasted pecans and maple syrup. It includes serving adjustments and storage notes, so you can make the batch size you need. Keep the pancake method consistent before experimenting with extra fillings. For more kitchen reading, the pie-crust guide explores another place where careful handling of flour makes a difference.